Making changes to a repository and committing to git
Gitpod environments are a handy place to try out Nextflow and nf-core tools, test new features and make suggested changes to the underlying code. Once you have made changes within the Gitpod environment, you can push these to a new branch for review by the nf-core team.
First, make sure your edited files are saved in your Gitpod environment (on macOS, cmd-s).
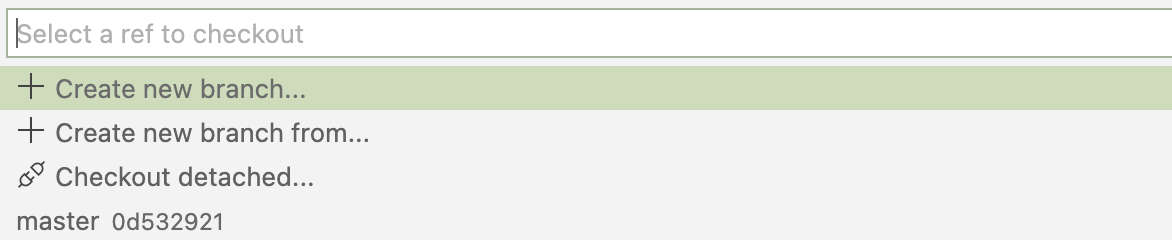
Then click the Git checkout branch option at the bottom left of the window.

Here will pop up an option to “Create a new branch…“.
Name a new branch and now you are operating on a branch of the main repository.
To stage files to this new branch, click on the Source Control button (on the left hand panel).

This shows all the changes to files and you can stage all changes by clicking the + button when you hover over the file name.
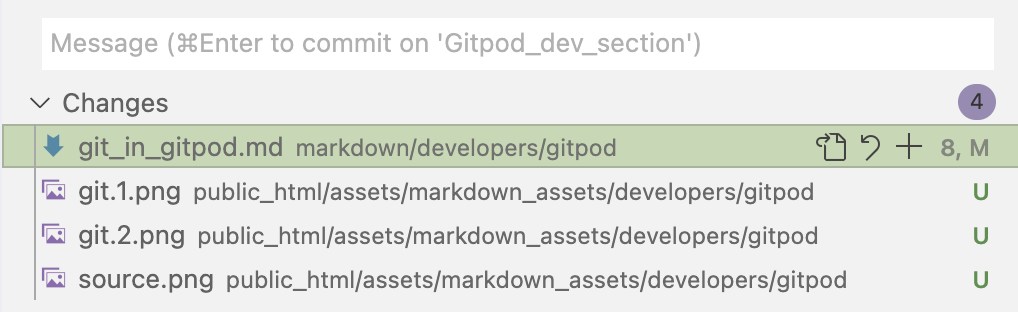
Finally, type in a commit message and click the tick button at the top of the source window.
Then click sync changes. You should have now pushed the new files to your new branch.

Using the command line
If you don’t wish to use Gitpod, you can still make changes to the website using the conventional command line git tools.
For example, to make changes to a new branch for the nf-core website, you would use the following commands:
git clone https://github.com/nf-core/website.git
git checkout -b my_awesome_suggestion
cd nf-co.re/
# Now you can edit files in this directory.
# Check the status of the changes:
git status
git add <file>
git commit -m "My informative commit message"